You are using an out of date browser. It may not display this or other websites correctly.
You should upgrade or use an alternative browser.
You should upgrade or use an alternative browser.
arch kits
- Thread starter christ
- Start date
- Status
- Not open for further replies.
B
bigsegs
Guest
youll need 2 wickes arch kits...you get 2 quarters per kit...you.ll need 4 quarters..
british gypsum do a better one, get 4 quarters in a kit plus a flexi 'bead liner'
theyre designed to be hardwalled/rendered in so you need to be back to brick before you start or be prepared to build out a further 10mm from wherever you fix em to...
other than that, pretty straightforward..the better you line everything up before you start the better it will be, dont be fooled into thinking you can take out of parallel out with a bit of bonding...
bodplasterer
Active Member
Stop living in the past, arches were for the 80s. Thats what i tell my missus any talk of arches ;D
murplastering
Member
use plasterbord and stop skim / arch beads and you cant go wrong got to say though arches belong in church or in your shoes
Pug
Well-Known Member
Arch kits are the work of the devil! ;D
get thee behind me! Pug agrees with Peg!! ;D
bodplasterer
Active Member
Surely you whant to put a door into your bathroom ;D
B
bigsegs
Guest
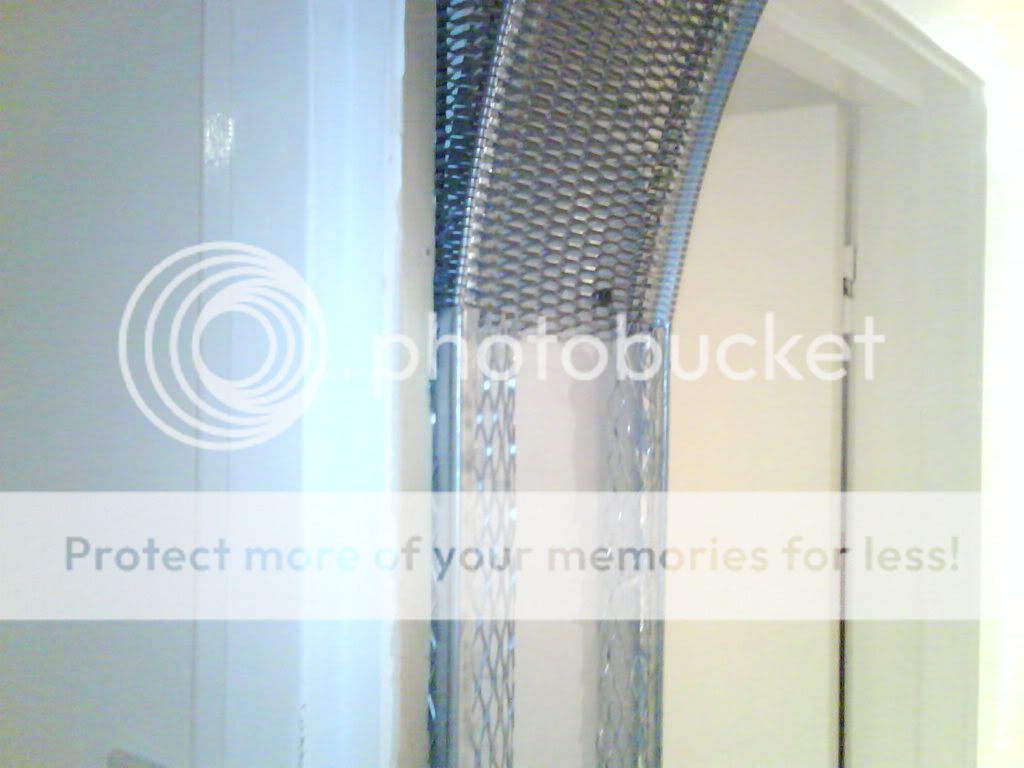
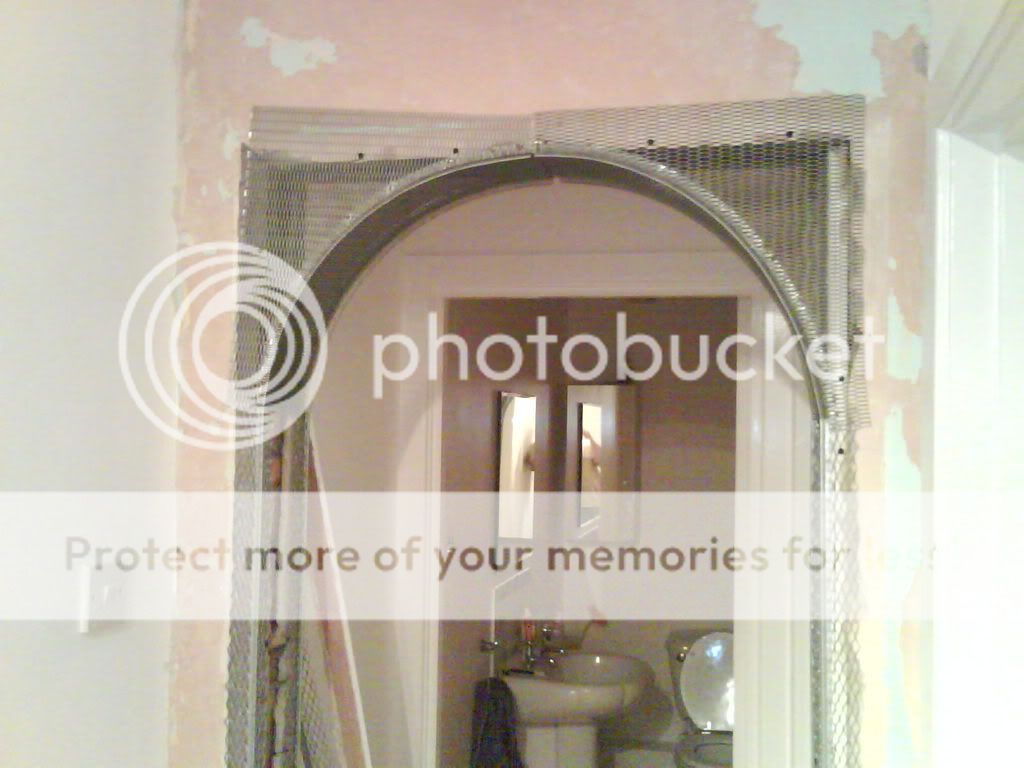
your gonna enjoy this mate, set up right there easy...looks good enuff, watch the 'line' where your arch joins your render bead...and maybe bang a few more screws in the arch kit...you got 3 drywalls per side..not an awfull lot...it'll hold mind...
and dont forget that the hardwall thats over the existing plaster is gonna go off like lightning and the hardwall over the mesh er..isnt..
might be a good idea to 'bondit' the plaster and use bonding with some cement in instead of hardwall...that way you can skim after an hour without any pva....
just might make life easier...
B
bigsegs
Guest
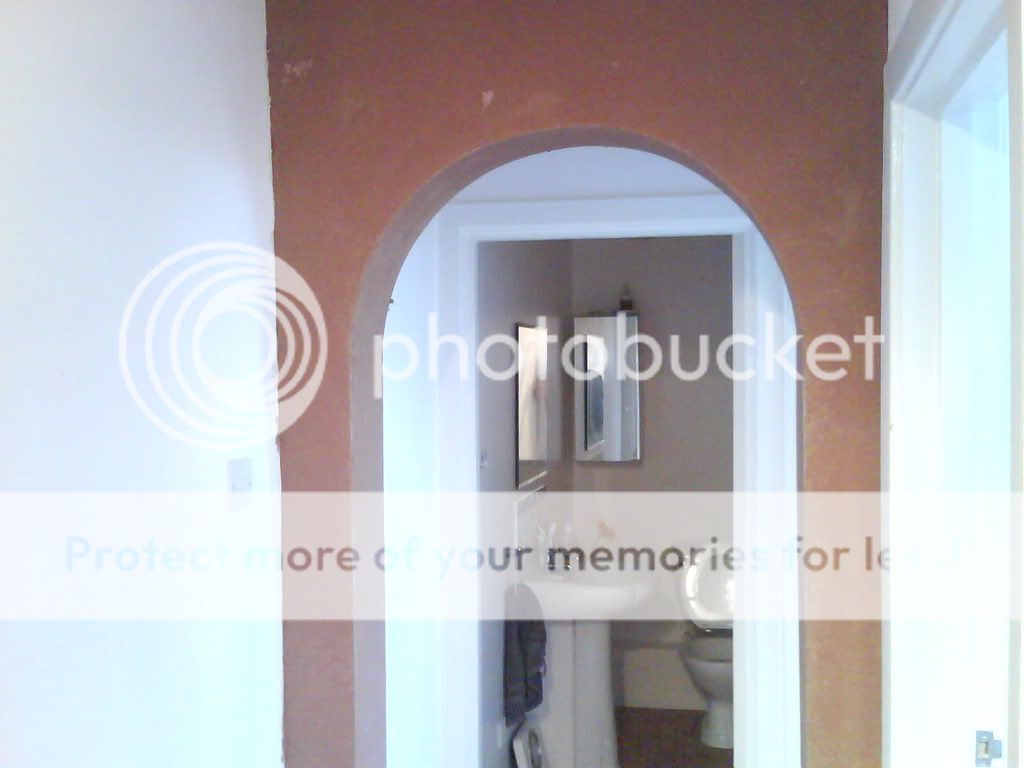
your a tidy plasterer christ ill give you that mate...that right hand kicks gonna annoy the f'ck out of you every time you walk past it though...albeit that youre the only one that'll notice it...very nice for a first go though...
them arch 'corners' are a pain though...gypsum do a very similar kit, got 4 quads in a box BUT its got this pvc strip which fits over the corners of the arch in one continuous bead and just happens to be bang on for a render bead...saves that 'zzzzzip'..you know what i mean..and if you ever get a wider arch and u need to 'adjust' the kit, it connects em all together for u...
got my 'concentric/chamfered joby comin soon, done in render, floatin it tommorow, wish id took a pic of what it looked like before i started..hope it looks as tidy as yours...never took a pic of my work before..only fireplaces...as u do ;D
B
bigsegs
Guest
lol no mate, i use the cheapest nokia money can buy, for 1 reason..they get scratched, full of dust then pack up...i cant see the point in payin silly money for something to make calls on...yeh i know you can get a 'camera phone' for 20 quid these days but theyre shite, the batteries last 5 minutes and on site they'd last a day. i just use cheap nokias cos they seem to last longer...
im gonna take the camera to work tomorra, keep forgettin it, but ive been meanin to take a pic of this bleedin arch for weeks and keep forgettin, now im on it i better not forget...its a good un, tricky as you like but if ive done it right you wont see that, only an arch...ended up usin 4 (same size)arch kits, 8 render beads and it took 4 hours to set the beads...
im gonna take the camera to work tomorra, keep forgettin it, but ive been meanin to take a pic of this bleedin arch for weeks and keep forgettin, now im on it i better not forget...its a good un, tricky as you like but if ive done it right you wont see that, only an arch...ended up usin 4 (same size)arch kits, 8 render beads and it took 4 hours to set the beads...
B
bigsegs
Guest
Link Removed
Link Removed
Link Removed
B
bigsegs
Guest
your not wrong..took me 1/2 a day just to set the beads up, the bricks were all over the shop, lets just say im glad all ive gotta do now is skim the f'cker ;D
N
nicksey1401
Guest
fair play seggs that looks well tidy  how did you form the outer arch mate?
B
bigsegs
Guest
bit of mix and match mate...those arch kits, same as what christ used but the b.gypsum version comes with a pvc liner what fits over the metal edge...
outer arch has the eml cut off which would normally be the inside, then snipped down the corner section of eml at 2" intervals from the edge to the bead so i could adjust the radius, plonked 1 quarter either side and just let the pvc bit run between em to give me a line to work to, filled it with render..
inside arch has the corner section snipped off, pvc bead again...that one was nearly size...
fixed the uprights, then the internal arch, then the external arch, just used a tape, that pvc bead really helps to blend the shape in when you bend the bead all out of shape to change the radius...
another half kit would have helped, just to help keep the pvc bead in place cos theres an 8" gap between the two outer arch quads, plastic bein plastic it might move, might not...we'll see..
havent got any bead left for the skim though...used the render to bed it all in and the semi-flexibility of the beading to help even it all out with the trowel pressure...shapes good but ill just have to mess about a bit with the skim to get a tidy edge...
just wondering now if me new (almost unused) flexi/adjustable internal corner trowel might become an adjustable external corner trowel???
ill take another pic when i skim it...
N
nicksey1401
Guest
bear with me mate  what were the walls like before? did you have to build extra to the wall to make the outer curve?
B
bigsegs
Guest
nah that was the shape, the bricks were canted both sides albeit rough as f'ck, it'd been lime rendered beforehand and hacked off, think there might have been penny round wooden beads on it before, the arch is the same the other side..didnt fancy havin to form penny rounds on it too...
FatmanWithATrowel
New Member
Speaking of arches ... this one adjoins "Satans own Ceiling" Â :'(

I was going to freehand it but I wonder now if its worth getting an arch kit ? Â I've only got 2 inches of depth before the door frame and attaching anything to the brick work is a right royal pain in the butt.
Thoughts. ?

I was going to freehand it but I wonder now if its worth getting an arch kit ? Â I've only got 2 inches of depth before the door frame and attaching anything to the brick work is a right royal pain in the butt.
Thoughts. ?
B
bigsegs
Guest
arch kit for me,specially on painted brick, if its anywhere near 2'6" wide it'll be bang on..you can snip off any surplus eml..
for fixing i'd offer it up, (you can wire both sides together first if you like), (drill a few 6mm holes into the brick first and insert red plugs), then when its in position bang some 30/40mm galvo clouts through the eml into the plugs, they wont come out again without a fight...
does depend on what your gonna do with the rest of the wall though...anything other than hardwall/render/bonding will cause you a problem e.g. d+d...
N
nicksey1401
Guest
if it was me mate id whip the doors off and gypbond the lot are they engeneering bricks?
float the front of the walls and cut it back to the arch then use carlite bonding on the internal walls and arch and rule it off the reveal and arch holding youre finger on the edge of the trowel so you get a nice even shape and finish it with arch/skim beads
..............so thats a penny round seggs
N
nicksey1401
Guest
probably mate its the purple bag
N
nicksey1401
Guest
or is it thistle bonding ?
N
nicksey1401
Guest
;D ........i reckon the customers been on too many forums  ...............errr what is carlite anyone ?????
B
bigsegs
Guest
i always thought 'carlite' was a trade name...like 'hoover'...
maybe its similar to 'purlite' or however its spelt...british gypsum go on about pearlite grains replacing sand in dricoat and the like??
maybe its similar to 'purlite' or however its spelt...british gypsum go on about pearlite grains replacing sand in dricoat and the like??
bodplasterer
Active Member
Your right seggs carlite is a trade name that british gypsum used for its plaster they had thistle and carlite. Bonding was carlite then they changed the name, they also had carlite finish then they changed the name to thistle plaster finish, and i think they have stopped making that now.
- Status
- Not open for further replies.


