orangemesh
New Member
Hi, I'm a customer not a plasterer, can I get some feedback on the base coat, a silicone thin coat that I've just had done please? I'm DIY savvy but I know when to leave a job to a pro. I selected the materials due to the solid brick walls and my requirement for anthracite topcoat colour - which limited the manufacturers available.
Materials: EWI PRO, render only.
I requested based on advice from EWI PRO technical:
> universal primer
> 10mm beads, 6mm of 269 lightweight, breathable.
> 3-4mm of 225 premium full mesh embedded
> primer
> 1.5mm top coat
I tried to get an EWI PRO accredited person/company to do the job but I couldn't find one in the area that was interested, so I went with a guy that's a full time plasterer mostly interiors but some rendering experience, 10 years in the job. Good reviews online.
The guy said that he'd prefer adding another layer of 225 on top of the meshed
layer, so the premium is around 6-7mm in depth. Another person at EWI Technical said that this would be ok.
I think that he's rushed the job. The 225 mesh and additional 225 were applied two around 26m2 on a hot day
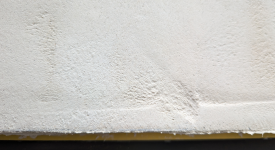
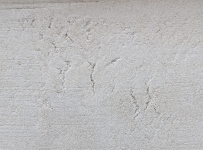
It's already cracked in places on one wall, presumably due to the sun. He didn't cover it up despite me leaving a tarpaulin and nails in the wall to hang it from, from when I covered up the 269.
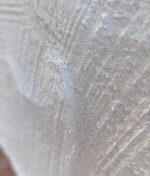
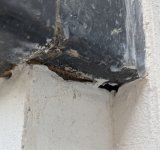
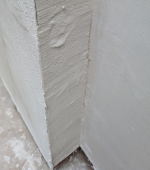
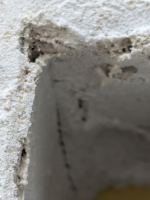
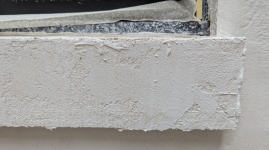
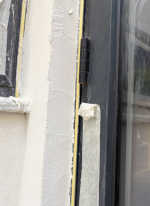
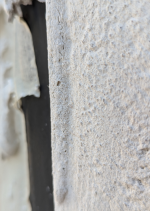
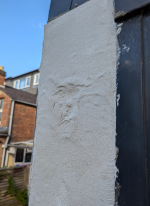
I've since read on this forum that the important thing when dealing with a thin coat render is to ensure that the walls are flat. Currently aren't due to excess parts, crude sponging and hollow dips in certain areas.
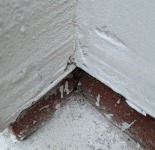
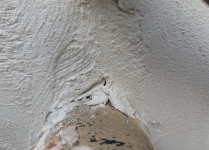
I already had to deal with about 5 issues from the first stage. He added bellcast beads to the sides of the patio doors instead of stop beads and a stop bead on the dpc. When I pointed this out he claimed that they were stop beads. He changed them but then I discovered that they weren't flush to the wall, there was an unnecessary gap of around 8mm in places. I had to hammer off the base coat around the beads and reattach them correctly. Also the top bead wasn't square. Some of the beads elsewhere didn't align with each other.
There are two places around widows where he hasn't added any 225. He said that he'd add a quick drying material prior to priming.
He is saying that it will be fine once the top coat is on. The top coat is only 1.5mm. I can't see how that can be possible. A turd covered in glitter may be a sparkly turd but it's still shaped like the turd nonetheless. It seems to be substandard work to me, am I correct?
Can you offer any advice on how to improve the situation before it's too late please? Sand down the excess areas and then a very thin coat to level the non level areas?
It's only letting me attach 10 photos but I could show at least 50 examples. Any feedback would be appreciated.
Attachments
-
 2024-06-28_09-04.png1.6 MB · Views: 123
 -
 2024-06-29_12-15.png745.6 KB · Views: 112
 -
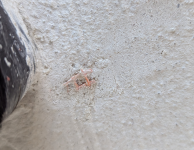 2024-06-29_12-16.png968.6 KB · Views: 105
 -
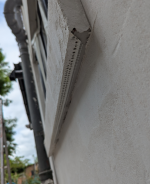 2024-06-29_12-00_3.png486.6 KB · Views: 96
 -
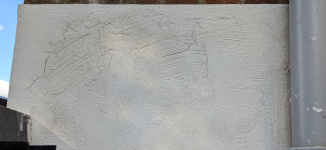 2024-06-28_09-06.png2.3 MB · Views: 96
 -
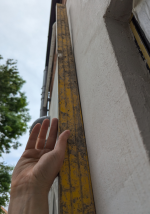 2024-06-29_12-04_1.png591.5 KB · Views: 97
 -
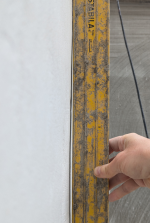 2024-06-29_12-03.png586.6 KB · Views: 103
 -
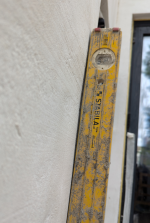 2024-06-29_12-01.png589.4 KB · Views: 120

