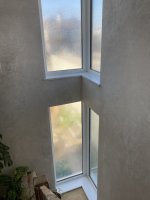
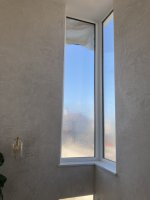
Hello everyone. Hoping for some advice on these air bubbles.
Background:
We have a victorian cottage with no cavity. The previous owner applied bitumen paint on the inside of the wall (1m in height) as well as gypsum plaster on some walls and concrete on other walls. There were serious problems with condensation and penetrating damp due to plants growing on the outside walls as well as leaky roof.
Works done:
We have fixed the roof and removed all the plants on the outside.
We have stripped the inside back to the brick. We did not strip the bitumen paint.
We were advised to apply a tanking as the wall is below road level (with the road right up against the all of the house). We were also advised to inject the walls with a chemical course.
We decided to apply lime plaster on top of the tanking to allow the top half of the walls to breath (I realise there isn't much point applying lime on top of tanking... but we wanted a seamless finish on the walls).
The problem:
Unfortunately, there are loads and loads of air bubbles have appeared on the walls. See picture.
My questions:
1. What is the cause of all these bubbles? is it poor workmanship ?
2. What is the best solution to get rid of these bubbles? Can they be sanded down?
3. Was it a bad idea to apply lime on top of a tanking?


